 The iPad is now standard equipment for most pilots’ flying, whether as a primary reference for digital charts or as a performance calculator. Something that important demands a quick pre-flight check, just like the airplane and the pilot. You wouldn’t take off without checking how much fuel you have on board – why would you take off without making sure your iPad is airworthy?
That doesn’t mean the iPad is unreliable; on the contrary, in our experience, it’s been the exact opposite. But you still want to find out about any issues with your iPad while you’re on the ground (and have an internet connection). This shouldn’t take more than five minutes.
You’ll want to create a checklist that works for your apps, accessories and your airplane. Customize it so that you’ll actually use it before every flight. With that in mind, though, here’s a basic checklist to consider that applies to most apps:
- Battery charged on iPad. It’s a good habit to always take off with a full charge (it takes 4-6 hours to charge a drained battery). Just because you have a cigarette lighter doesn’t mean it always works. Here are some tips for charging your iPad.
- Battery charged on accessories. If you fly with an external GPS or ADS-B weather receiver, these devices should also start out with 100% battery life. Most of them have about the same life as iPad, so the easiest plan is to simply charge your wireless accessories alongside your iPad.
- Backup power plan in place. While your battery should be 100%, it’s always smart to have a plan B. A dead battery (usually pilot-induced) is the most likely failure scenario. Backup battery packs or charging cables are cheap insurance. Make sure they are available and accessible.
- Run the application once. Especially if you’ve updated the app, check to make sure it won’t crash or lock up on initial start-up. This is rare, but it has happened in the past. You might even consider turning off automatic app updates in the Settings app.
- Load routes, plate binders and favorite airports. Using these features is a big time-saver in flight, but only if you take the time to do this on the ground. You should know your expected route before engine start, so enter that and adjust any other route settings in your navigation app so you are ready to go when you get to the airplane.
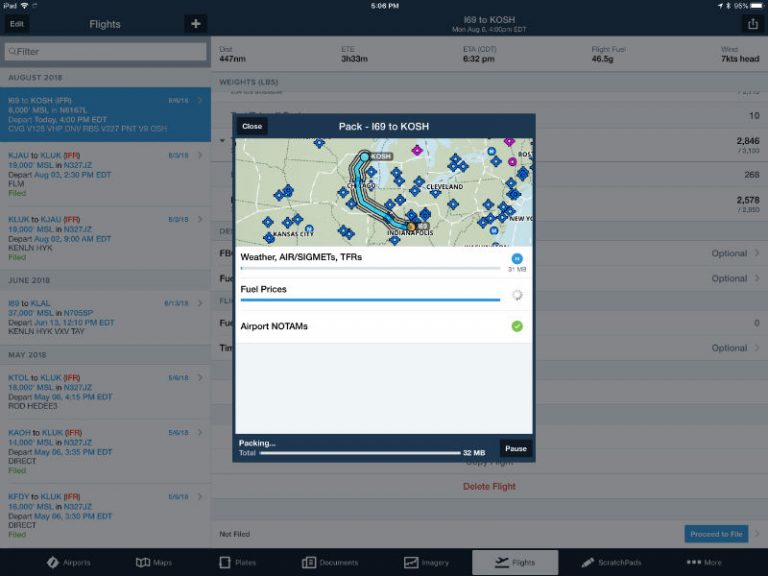
- Databases installed and current. Almost every pilot makes this mistake once. Just because you were looking at the charts at home with the benefit of an internet connection does not mean they will be saved for offline use in the cockpit. Make sure your chart coverage areas are appropriate for your route and double check by using the app without an internet connection (see this tip). ForeFlight’s “Pack” feature is another way to verify your charts are downloaded.
- Turn off wireless functions that aren’t needed. Every iPad has Bluetooth and WiFi, and some models have LTE cellular radios as well. But unless you’ll need them in flight, we strongly recommend you turn these wireless radios off, as they drain the battery and lead to interference. Only leave on the feature that you need for any accessories (e.g., Bluetooth for a remote GPS).
- Clean the screen and adjust the screen brightness. The screen backlight is the #1 user of battery power on the iPad, so set the brightness level to less than 100% if conditions permit. Lowering the screen even to 70 – 80% can add an extra hour or more of battery life. Having a clean screen, as simple as it sounds, can allow you to use a lower brightness setting.
Once you get used to your iPad checklist, you’ll find that this process takes just a few minutes. Customize it to your own flying, but make sure you’re doing some type of regular pre-flight before you blast off on your next flight.
The post How to preflight your iPad in less than 5 minutes appeared first on iPad Pilot News.
Source: Ipad appsHow to preflight your iPad in less than 5 minutes
