Garmin Pilot has been expanding its weather options lately, with a particular focus on interactive map layers. If you’re only watching the radar and METARs, you’re missing a lot of good information that can help your next flight be smoother and safer. Here are four tools to use.
1. Make TAFs visual with the profile view. Garmin’s split-screen view is a powerful addition to your preflight briefing routine. The profile view shows your trip in 3D, with terrain, obstacles, airspace, and weather all displayed relative to your planned altitude. The en route weather icons in particular offer a lot of information in an easy-to-understand format, including sky coverage and lowest ceiling. To get the most out of this feature, you can move forward in time to see how conditions are forecast to change. Tap the timestamp at the bottom right and use the slider bar to see the TAFs in action. If you notice those white circles moving down, you know conditions are trending towards IFR.
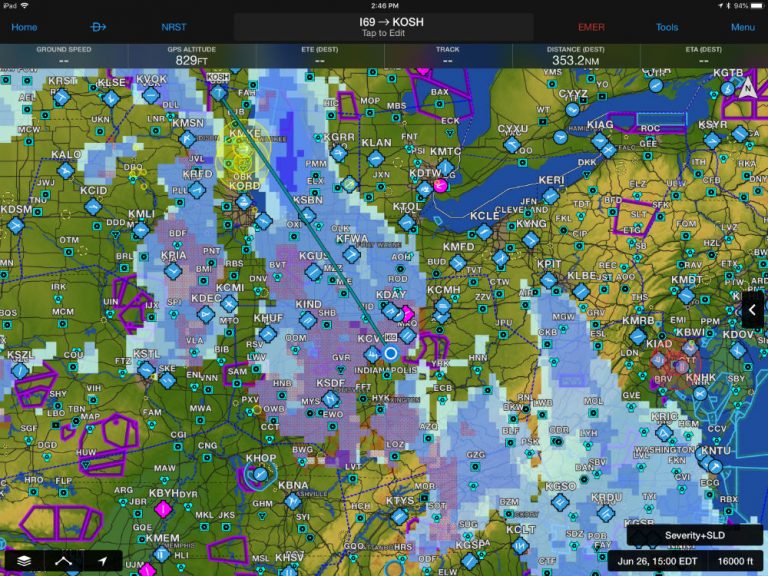
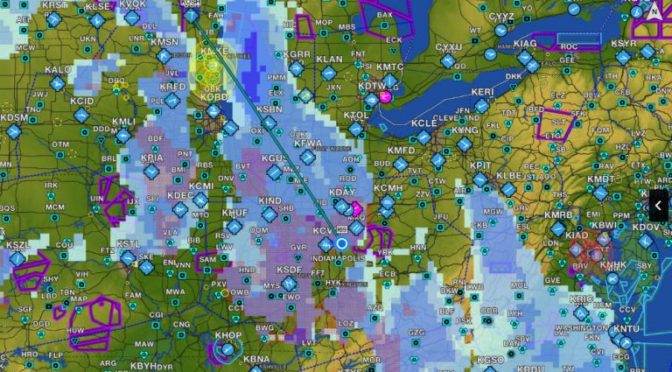
2. Compare icing severity and probability. Icing is a serious threat for most piston airplanes, but fortunately there have never been better tools to help forecast this phenomenon. From the Map page, tap the overlay menu at the bottom left and select Icing, Internet. You’ll see an overlay on the map, but also a new button at the lower right: Severity+SLD. This tells you the map is showing you the severity (light, moderate, severe) of any potential ice, and is displayed in shades of blue. Supercooled Large Droplets (SLD), a serious threat for any aircraft, is shown in red.
You can tap on that button to change the view to Severity+SLD (>25% PRB), which shows the severity of icing conditions that have a better than 25% probability of occurring, or Severity+SLD(>50% PRB) for 50% probability. Finally, you can tap on the Probability option to see how likely it is you’ll encounter any ice – regardless of its severity. A smart pilot will use both forecast tools to get a complete understanding of the atmosphere. Remember to use the altitude and time sliders to see how icing conditions will change in the future and at different altitudes.
3. Alternate Selection Guide. When do you need to file an alternate? How do you pick one? Garmin Pilot makes this a lot easier. First, go to the Trip Planning page and enter your proposed route and ETD. The app will pop up an alert if your destination requires an alternate, per FAR 91.169.
Then, for help finding a good alternate, tap on the Alternate Selection Guide just above. This will show nearby airports and their forecast weather at your ETA. You can show all airports, or only airports with a TAF. You can further filter by airports with a runway over 5000 ft.
4. Show storm tracks. Weather doesn’t always move from west to east, and Garmin’s storm tracks feature is a good reminder. With the radar displayed on the Map page, tap the lightning bolt symbol at the bottom right corner. This will turn on orange arrows for major storm cells. The arrows show the direction of movement, and the marks show where that cell is predicted to be in 15-minute increments. It’s not precise, but it’s a good way to get a feel for a storm’s movement – especially if you animate the radar. This information is also available in flight with SiriusXM weather.
The post 4 weather tips for Garmin Pilot users appeared first on iPad Pilot News.
Source: Ipad apps4 weather tips for Garmin Pilot users


