
One of our favorite things to do on a long cross country flight is to learn the hidden features in electronic flight bag apps. On a recent flight, we spent some time exploring all corners of the Garmin Pilot app, and as usual we found it packed with features. As we’ve highlighted before, there are dozens of little tools that can make your flying safer and easier. Here are five new tips.
1. Night mode on synthetic vision. Garmin’s synthetic vision feature provides a powerful backup panel display, with pitch and roll, speed, altitude and nearby terrain. If you’re connected to a Garmin glass cockpit (as we are below), you can even see indicated airspeed and pressure altitude instead of the less accurate groundspeed and GPS altitude. While it’s a vibrant and colorful display during the day, those colors can be blinding at night. To give your eyes a break after sunset, tap the Menu button at the top right corner, then choose Night Mode. You’ll see the colors darken noticeably, but with no loss of information.

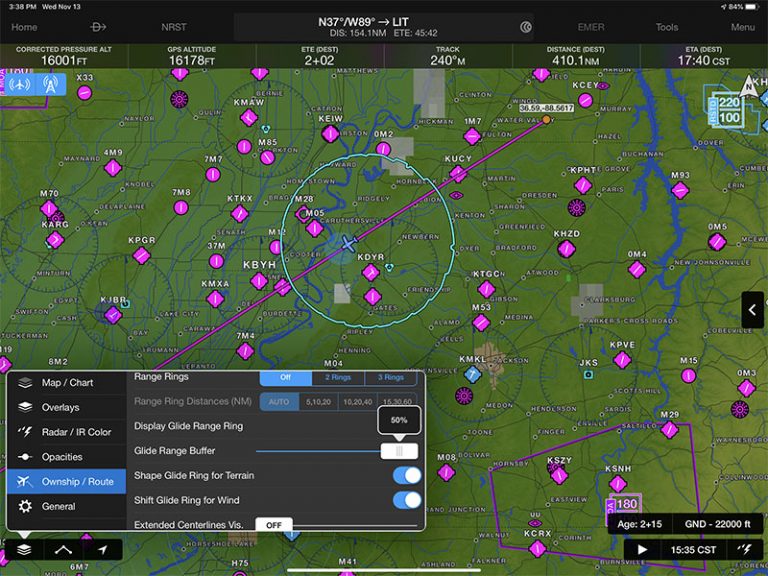
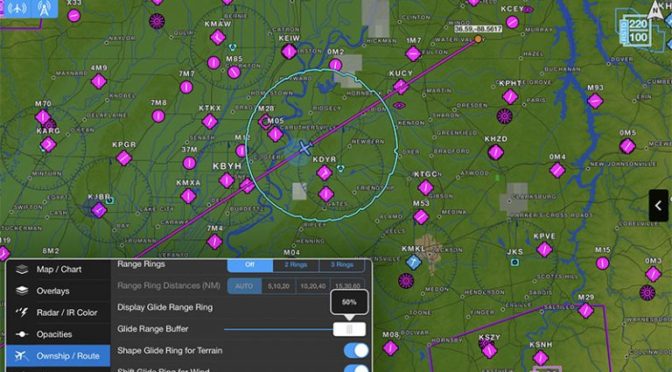
2. Glide ring and glide range buffer. This is a major safety enhancement for pilots of single engine airplanes – the app will show a ring around your airplane, adjusted for winds aloft and terrain, that estimates how far you could glide in an engine-out emergency. First, make sure you have your airplane profile set up properly in the Settings page, including a proper glide ratio.

Then, turn on the Glide Range Ring from the Map page by tapping the layers button at the bottom left corner of the screen, then choosing the Ownship / Route option. This will use the glide profile you have stored, but can be adjusted using the Glide Range Buffer slider. Below you’ll see we have a 0% buffer, so the map is showing a best-case scenario (and probably too optimistic).

By sliding that bar to the right, you can increase the buffer. While the app uses 20% as a standard, you can go all the way to 50%. Note how small the ring gets at that setting.

3. Hide distant traffic. Around busy airspace, the traffic layer in Garmin Pilot can quickly get overwhelming. While that’s initially a little scary, you’ll quickly notice that most of the targets are thousands of feet above you. But hiding those less important targets isn’t as obvious as you might think. First, tap the little traffic symbol in the left corner of the map. This will show what your altitude filter is (NORMAL in this case).

To change this setting, go to the Traffic page (from the Home menu) and tap on the Altitude Filter option at the top left corner. Here you’ll see four options, and Normal will hide most of those airliners flying far overhead.

4. View recent charts. The Charts page is the place to go for instrument approach plates, arrival procedures, and full size airport diagrams. While Garmin Pilot will automatically create binders for your departure and destination airports, sometimes you need to look at other charts. This is where the small Recent button at the top right comes in handy. Tap that to see a list of the last 20+ charts you viewed, regardless of airport.

5. Quick access to airports. Like Charts, Airport Info is one-stop shopping for information about airport frequencies, runways, FBOs, and so much more. First you have to pick the right airport. There are plenty of ways to do this, including tapping the airport code at the top left corner of the screen, which will pull up a menu that offers recent, flight plan airports, nearest, and favorites.

There’s an even quicker way, though. Tap the Menu button at the top right corner and you’ll see one-tap access to your departure, destination, and more. It’s a small feature, but a big time saver.

What’s your favorite Garmin Pilot shortcut? Add a comment below.
The post Garmin Pilot tips to use on your next flight appeared first on iPad Pilot News.
Source: Ipad appsGarmin Pilot tips to use on your next flight