
Today’s aviation apps are so capable that it can be easy to fall in the habit of using only their core features, like checking METARs on the ground, viewing the moving map sectional in the air, or reviewing digital instrument approach procedures before landing. Heck, if that’s all these apps offered, most pilots would still be pretty happy with the investment in the iPad and an annual subscription to the app.
The reality is these apps can do so much more, and it’s worth taking the time to sit down on a rainy day on the couch and explore their hidden features. It’ll help you break out of your iPad routine and improve your preflight planning and in-flight situational awareness. To get you started, here are 5 lesser-known features in the Garmin Pilot app to check out before the next flight.
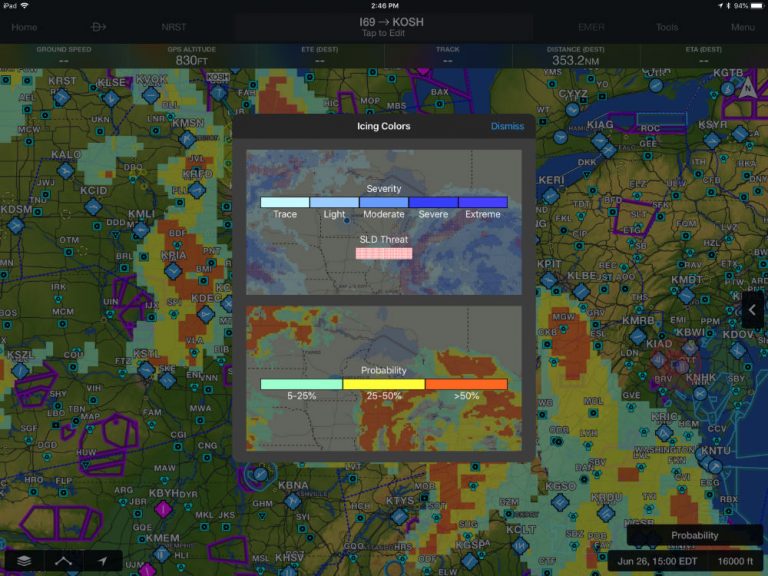
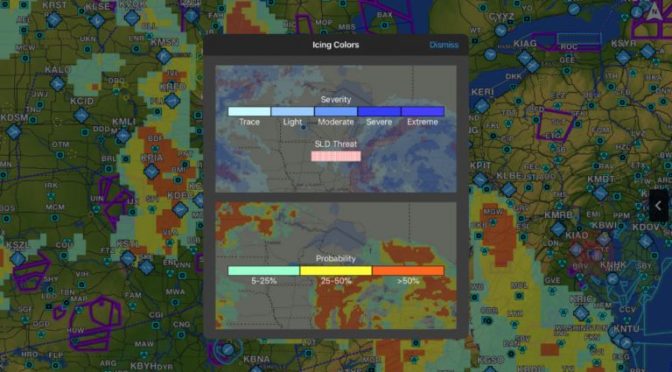
1) Icing forecast: severity or probability?
When viewing the main map screen on the ground before a flight, tap the settings button in the lower left corner to view weather and overlay options. Select Icing (Internet) from the list of options on the far right. The catch here is that there is another submenu option on the bottom right of the map to select the type of icing forecast displayed, either Severity or Probability.


Severity indicates how quickly ice is likely to accumulate on your airplane, while probability displays the likelihood that any type of icing threat will exist in that area. A forecast of a high probability of a trace of icing requires a completely different approach than a 25% chance of severe icing with supercooled large droplets present.

2) Set personal pilot weather minimums
There’s a safeguard in Garmin Pilot that will get your attention when planning a flight if the forecast ceiling height, visibility or wind speed exceeds your personal limits. To enable this feature, head over to the main Settings screen, select Pilot Info from the left-hand menu and select your name from the list of Pilot Profiles (or add a new Pilot Profile if you haven’t already). There the 3 options under Personal Minimums for VFR, IFR, and Winds, where you can specify your minimum ceiling, visibility, wind speed and gust factor for the departure and destination airport enterted in your flight plan.

Then, when on the Trip Planning screen, if the TAF calls for a condition outside your set minimums, a yellow alert triangle will be displayed by the airport ID with a message explaining the condition.

3) Alternate airport selection guide
To help IFR pilots with the task of finding a suitable alternate airport during flight planning, Garmin Pilot includes a useful tool called the Alternate Airport Selection Guide. To use this, first enter a new route in the Trip Planning section of the app. If the forecast ceiling or visibility dictates that an alternate airport will be required, the app will display a yellow triangle next to the flight plan in the list.

This is your cue to scroll down further on the Trip Planning page, where you’ll see Alternate Destination highlighted with a yellow border. Tap the “Alternate Selection Guide” just above it to view a list of nearby airports, along with the ceiling and visibility forecast for your ETA. There are also quick links next to each airport to view the specific alternate minimums for that airport.

4) Set minimum runway length for Nearest Airport and Emergency features
Garmin’s nearest airport function is by far the best of any EFB app on the market. To make it even more useful, go to the General Settings page, and find the Nearest Airport Criteria settings. This allows you to specify a minimum runway length and surface type for the nearest airports function. These criteria will also be used to filter nearby public-use airports when using Garmin Pilot’s Emergency feature. Both the NRST and EMER buttons are always accessible at the top of the screen.

5) Minimum altitude warning
When in the Flight Plan section of the app, Garmin Pilot provides a subtle alert if your planned altitude doesn’t provide enough clearance above the highest terrain feature or obstacle along your route. When a conflict is detected, both the planned altitude and highest point will be colored yellow or red, and the conflicting part of the route will be highlighted in yellow or red on the map.

The post 5 preflight features to try out in Garmin Pilot appeared first on iPad Pilot News.
Source: Ipad apps5 preflight features to try out in Garmin Pilot